Makerss Masterclass - Harvest Mouse with Agnese Davies
Share
Couldn't load pickup availability
Welcome to our brand new Makerss Masterclass Series!
In this video masterclass we explore how to needle felt a Harvest Mouse.
Join award-winning artist, Agnese Davies, in her 5 part Needle Felt Masterclass as she teaches how to create a realistic harvest mouse. Agnese will take you through how to make the mouse step-by-step. With techniques covering 3D shaping, surface decoration and fibre blending.
Your digital download videos will be sent to you automatically via email when you checkout, you will also be sent a PDF email with additional resources. Please check your spam/junk folder if you have not received your files within 15 minutes.
Agnese's Harvest mouse Masterclass List of materials:
- Hamilworth #26 L.36cm Paper covered florist wire
- Round, black 3mm glue in glass eyes
- Glue (PVA glue pen is easiest)
- Pink, hard beeswax (woolly wax)
- Natural beeswax (bars available from bee keepers)
- White nail varnish (I use UV one, but you need UV light for that too)
- Mod-Podge and paint brush for applying (optional as you can just use PVA glue too)
- Cat hair for whiskers (maybe fine dog ones would work too, everyone has a friend
with a short haired cat, don't they?
Wool (you only need small amounts and shades are optional, I mix mine and choose different shades with different mice. 20g of each could make hundreds of mice)
- Core wool- I personally prefer lanolin rich, but use what you are most comfortable
with - White Extra fine merino
- Light grey Merino roving tops
- Pale brown roving tops
- Beige roving tops
- Medium brown roving tops
- Manx Loaghtan
- Brown roving tops
- Flesh pink tops (for tail and feet)
- Cape merino –natural creamy white short carded batts (for muzzle cheeks and chin)
- Dark brown or black wool for adding shape of the eyes around the black beed- tiny amount.
Additional tools, you may already have some:
- Wax heater
- Hair straighteners
- Pliers
- Wire cutters
- Good scissors
- Tweezers
- Candle and basic metal ball sculpting tools
- Brush matt
- Multiple needle puncher
- Tooth brush- for combing-sorting fur
- Ball end pins –short ones (a helpful guide where to put both ears before felting)
- Your favourite felting needles (of course!)
- Pyrography tool with flat leaf looking tip (as seen in my video Masterclass)
I wish you good luck with the project, for any questions please email me personally at adwoolcraft@gmail.com


Visually Impaired?
Do you need digital versions of instructions so you can increase text size or use a screen reader? No problem, please email us at info@themakerss.co.uk and a member of the team will send you the instructions digitally.
I never thought I’d be able to create something life-like but this masterclass is so easy to follow from start to finish.
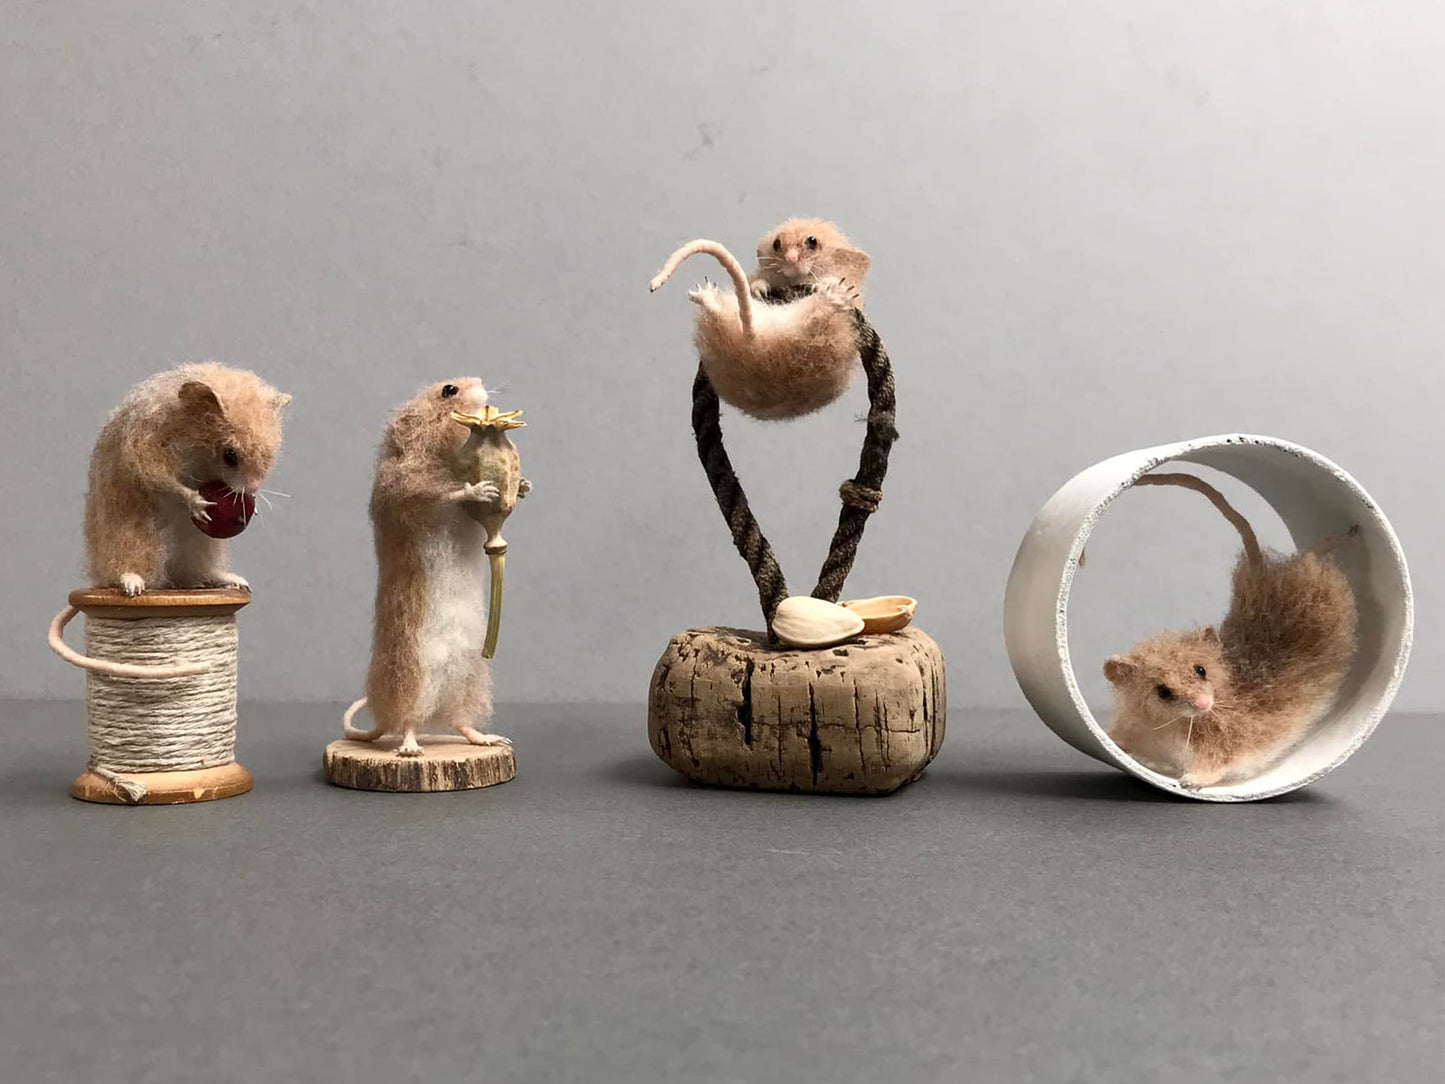
Very tiny work and needed to pay attention but the instruction and explanations are easy to follow. Lots of hits and tips along the way. Very pleased with the outcome and I can see an army of mice coming along!
I wasn't sure at first whether I'd enjoy learning by video but this works really well. Agnese is an excellent, friendly teacher, I could work at my own pace and review anything I didn't get first time around. This little mouse takes a lot of work but I loved making it and will do more... I hope I get better with practice! I've certainly learnt lots of new techniques and tips I would never have realised trying to do it by myself. Definitely recommend.
I LOVED this tutorial. I have been trying- and failing- to create a realistic mouse for a long time. Now I have the secrets!! Agnese is a lovely tutor and creates her mouse in real time for you to follow with lots of helpful tips along the way . Highly recommend it !!